Friday, December 13, 2013

Matte Painting

This is the rough matte painting where the buildings and trees are there for reference so we will know how to set up our animations and incorporate it. Also, the trees will have their own separate file so that we can give the illusion of depth to them and the skyline. 
This is a 3d model made in Maya that will be exported to Photoshop and edited in 3d space

This is another 3d model made in Maya that will be exported to Photoshop and edited in 3d space.

Saturday, December 7, 2013

Textures

These are Jason's boots and jean textures. Kyle did a beautiful job.
Fabulous fashion. I think Kyle could become a clothing designer for men.
This is the texture for the boots
This is the texture for Jason's jeans
This is the texture for Jason's shirt
This is the texture for Jason's robo-poly shirt

Thursday, December 5, 2013

Animations

This image is from the shot where Tracy floats into the portal. She has no hair in this image because it's going to be referenced into the rig later because of some pipeline issues we had.
This is the translate X and Y curve for when Tracy is swinging on the swing-set.
Y is represented by green and X is represented by red.
Animating Jason's run cycle

This is the run cycle for Jason when he's about to attack the polygon soldiers
Animating the fight scene is so much more fun than I had anticipated 
Animating the fight scene is challenging. It requires a lot of balance, follow through, and timing.

This is the rough first part of the fight scene

Wednesday, November 20, 2013

Tracy Modeled to Rigged

This is the prototype of our Tracy model. We decided that she looked too old so we went back and made some modifications. 
This is the slightly remodeled Tracy. She is already looking younger.
These are Tracy's awesomely modeled shoes.


This is Tracy's final model. (despite a hairstyle change and pants)


Rigging the arms

Creating a forward kinematic and inverse kinematic arm rig switch
I finished with the arm controls, now starting on the head control
finally done with tracy's facial rig. just have to figure out an efficient way to rig the hair
this shows the capabilities of the rig
This is the final model of Tracy
This is the final poly Tracy model

This is the final rig of Tracy

Thursday, November 14, 2013

Tracy Concept Art


Tracy Concept Art
This is the concept art for Jason's daughter. The character drawn in the concept is what we are using as reference for modeling, but we are going to make the 3D model character younger in appearance. (Around nine years old)

Tuesday, November 12, 2013

Jason Modeled to Rigged

Jason's face Geometry in X-ray View. This shows the amount of detail put into the face. Teeth, eyes, eyebrows, and a 'mouth sack' are visible.
Painting weights on Jason's face. Painting weights on a characters face is a delicate process that requires a lot of patience.
The image above is the rig for the legs and upper body. For the feet I made a reverse lock foot rig and for the spine I made it so where the rotation of one joint effects neighboring joints so the character will have natural movement in the spine.
The image above is of the main arm bones.
Above is an image of Jason's facial rig with only Controls. This facial rig was discarded later on because I learned more advanced techniques.

Above is an image of the inner workings of the facial rig. Visible in this image is a lattice deformer, several locators, many joints, a few inverse kinematic handles, and some NURBS curve controllers. 
This is the final rig of the main character. The only thing that will be changed later on will be the facial rig since I have learned some new techniques.

So I ran into this huge problem. The face wouldn't render out. I did some research and asked the Digital Tutors forums, but they couldn't provide me with a solution either. So I went into the scene and did some digging. It turned out that my base head's Drawing Override visibility was turned off. I turned it on and it then showed up in the render! But this threw another problem at me. Only the eyebrow deformers were working, not the forehead deformer. So I turned on the forehead base mesh and it showed up in the render, but with another head overlapping it. I concluded that the base heads that I got from the multiple facial deformers weren't communicating with each other. So basically.. I have to remake my facial rig. Fun.

I solved the problem. In the options when you make a wrap deformer you're given the option to make the object that is deforming the desired mesh to be rendered. All I needed to do was to go back and check the box.


This is the rig for the robo arm. I made several custom attributes for it, such as the spinning of the gears and the ability to move the poly shards on the forearm in all axis.

This is the final robo-poly arm, modeled and rigged!
This is the final Jason model

This is the final Robo Jason model
This is the final Jason rig

Monday, November 11, 2013

Game Company Intro

This is the our company intro for our video game.We decided to do a play on our name by incorporating a mugshot in it, and the first thing we thought of when we said concord was a bird so that's how that came around. The bird flying in is a silhouette of a bird animated in Maya with the background layered out, and the rain is an effect in AfterEffects... CONT>>

Sunday, October 27, 2013

Enemy AI pathfinding A* Algorithm

We've been having AI difficulties so I started to research it and after awhile I came across The A* Algorithm which will help a lot in our AI path finding abilities.


A* Algorithm Path Finding example


A* uses a best first search and finds a least-cost path from a given initial node (start point) to a goal node (a waypoint or the player) out of one or more possible goals. As A* traverses the graph, it follows a path of the lowest expected total cost or distance, keeping a sorted priority queue of alternate path segments along the way.

A* Tutorials

Tuesday, October 22, 2013

Game Builds

Build 02

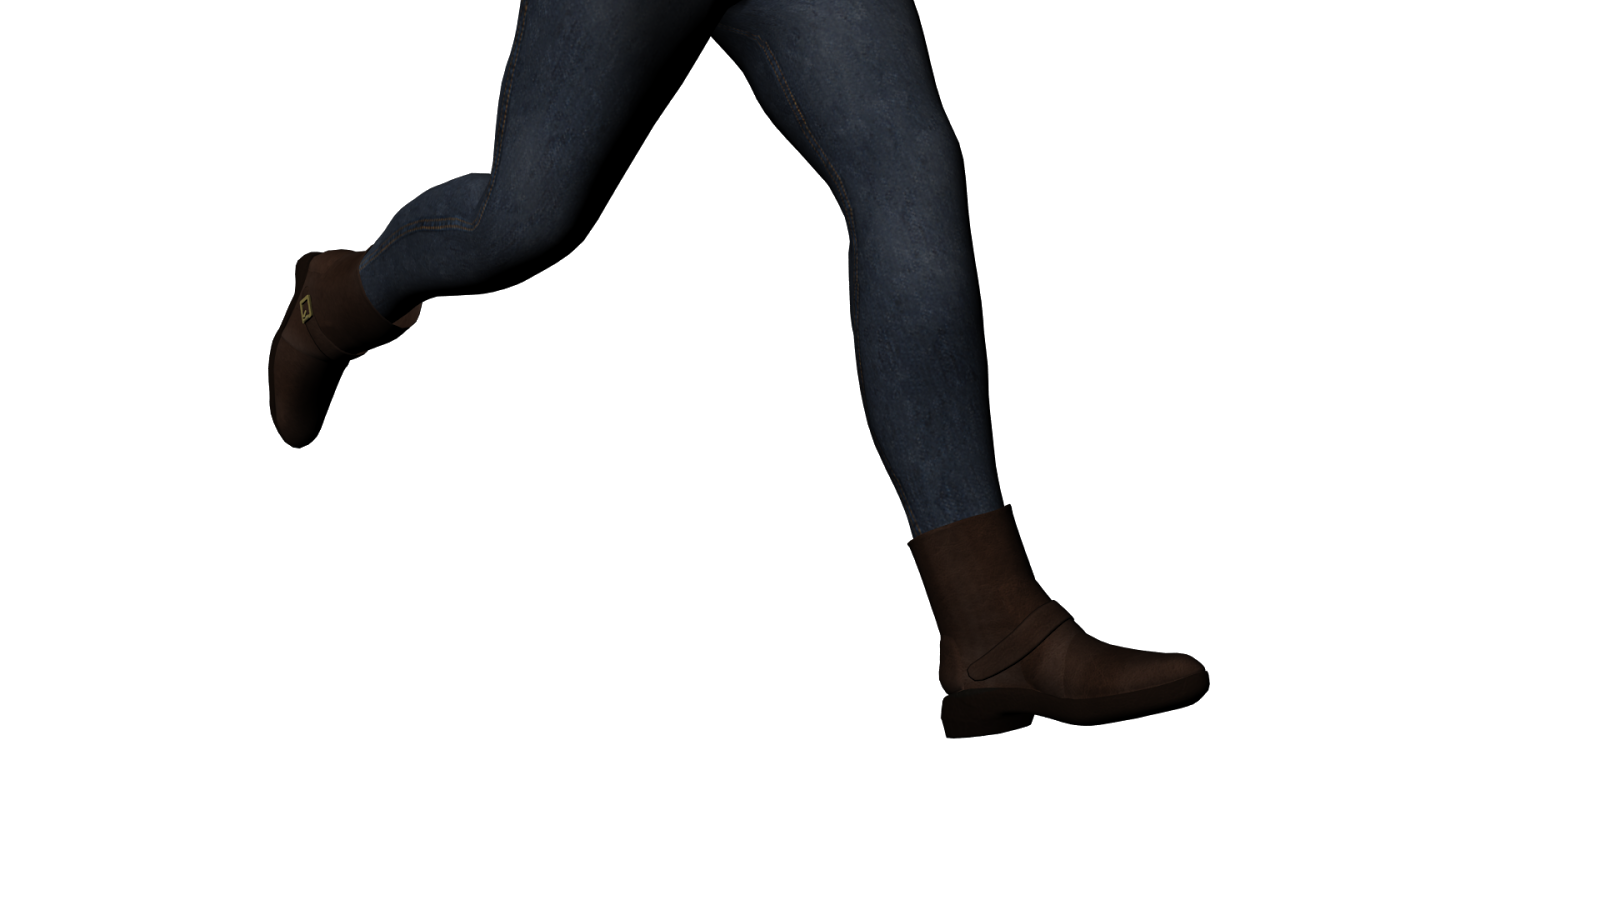
This build was made to get the base knowledge of scripts, particles, animations, and navigation through unity.
We learned several things from this build. One thing that we learned was that the enemies would on occasion, flip the player high into the air. Also, our player's hand can go through walls when it shouldn't, our animations need to transition more smoothly, etc.

Here's the download link for the build

Movements: Standard move controls. W A S D (forward, left, down, and right) with the mouse for aiming, left click for shooting, and right click for punch.

Cube Golem Enemy


This is an almost complete model of an enemy in our game. The concept of the texture is also what we want the rest of the games enemies to look like. In the game we will want to make the red lines to glow slightly. The only parts of this model that are not complete are the hands and the bottom rectangular prisms.